How to Prepare Your Garage for Epoxy Installation
How to Prepare Your Garage for Epoxy Installation
Proper preparation is crucial for achieving a beautiful, long-lasting epoxy floor. While our professional team handles all the technical preparation work, there are several important steps you can take before installation day to ensure a smooth, efficient process.
Why Preparation Matters
Epoxy flooring is an investment in your property, and proper preparation ensures you get the best possible results. A well-prepared space allows our team to work efficiently, reduces installation time, and helps achieve optimal adhesion and durability.
1. Clear Out the Entire Garage
Timeline: 1-2 days before installation
Remove everything from your garage, including:
- Vehicles (park them elsewhere for 3-5 days)
- Storage shelves and cabinets
- Tools and equipment
- Boxes and stored items
- Wall-mounted items that could get in the way
Pro Tip: This is an excellent opportunity to declutter and organize. Consider donating or discarding items you no longer need.
2. Clean Up Oil Stains and Spills
Timeline: 1 week before installation
While our team will perform professional surface preparation, pre-cleaning helps us assess the concrete condition:
- Sweep away loose dirt and debris
- Use a degreaser on visible oil stains
- Let stained areas dry completely
- Note any areas of concern to discuss with our team
Important: Don't use acid-based cleaners or sealers, as these can interfere with epoxy adhesion.
3. Check for Moisture Issues
Timeline: 2 weeks before installation
Moisture is epoxy's enemy. Look for signs of moisture problems:
- Water stains or discoloration
- Efflorescence (white, chalky deposits)
- Damp spots after rain
- Musty odors
If you notice any moisture issues, contact us immediately. We may need to address these before installation.
4. Repair Major Cracks and Damage
Timeline: Discuss with our team during consultation
Small cracks and imperfections are normal and will be addressed during our preparation process. However, let us know about:
- Large cracks (wider than 1/4 inch)
- Significant spalling or flaking
- Uneven areas or settlement
- Previous coating failures
We'll assess these issues during your free consultation and recommend appropriate repairs.
5. Ensure Proper Access
Timeline: Day before installation
Make sure our team can work efficiently:
- Clear a path from the driveway to the garage
- Ensure garage door opens fully
- Provide access to electrical outlets
- Remove any obstacles in the driveway
- Inform neighbors if we'll be using equipment
6. Plan for Pets and Family
Timeline: Day of installation
Epoxy installation involves chemicals and equipment:
- Keep pets indoors or away from the work area
- Plan activities away from home if possible
- Ensure children understand the work zone is off-limits
- Ventilate adjacent rooms if garage is attached
7. Protect Adjacent Areas
Timeline: Day before installation
While we take precautions, you can help by:
- Moving items away from garage walls
- Covering nearby landscaping if concerned
- Closing interior doors to minimize dust
- Removing items from garage attic/loft if accessible from below
What Our Team Handles
Once you've completed these preparation steps, our professional crew takes over:
- Surface Grinding: We use diamond grinders to create the perfect profile for adhesion
- Crack Repair: We fill and seal cracks with specialized epoxy compounds
- Cleaning: We thoroughly clean and vacuum the surface
- Moisture Testing: We verify the concrete is ready for coating
- Priming: We apply primer to ensure optimal adhesion
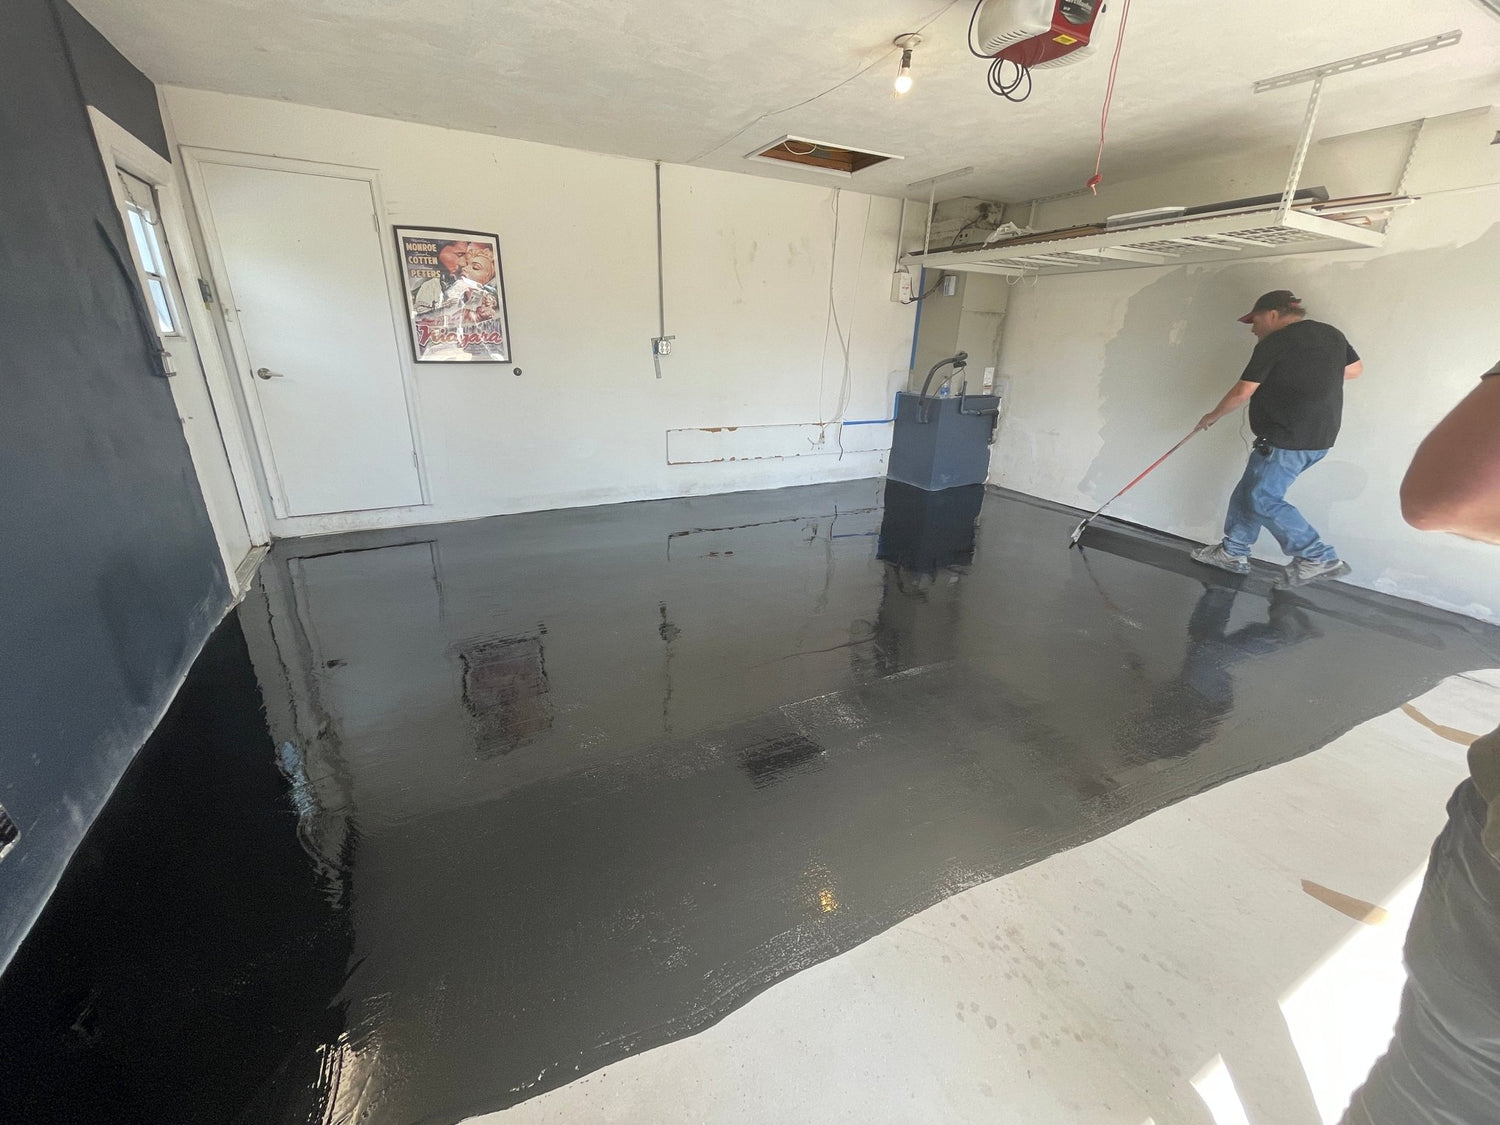
- Application: We expertly apply your chosen epoxy system
- Finishing: We add decorative flakes or topcoats as specified
Timeline Expectations
- Preparation Work: 4-6 hours
- Epoxy Application: 6-8 hours
- Curing Time: 24-72 hours depending on system
- Full Use: 5-7 days for complete cure
Common Questions
Q: Can I stay home during installation?
A: Yes, but the garage will be off-limits and there will be some odor. Many homeowners choose to be away for the day.
Q: What if it rains during installation?
A: We monitor weather closely and may reschedule if conditions aren't ideal. Moisture can compromise the installation.
Q: Do I need to do anything after installation?
A: We'll provide detailed care instructions. Generally, avoid driving on the floor for 5-7 days and wait 30 days before parking hot tires.
Q: What if I can't move everything out?
A: Contact us in advance. We may be able to work around some items or schedule the project in phases.
Ready to Get Started?
Proper preparation sets the stage for a successful epoxy floor installation. If you have questions about preparing your garage or want to schedule your free consultation, contact Charlotte Epoxy Flooring today.
Our experienced team has completed over 500 installations across the Charlotte area, and we're ready to transform your garage into a beautiful, functional space.
Call us at (704) 555-1234 or request your free estimate online.